# tianqi
**Repository Path**: star8521/tianqi
## Basic Information
- **Project Name**: tianqi
- **Description**: No description available
- **Primary Language**: Unknown
- **License**: Not specified
- **Default Branch**: main
- **Homepage**: None
- **GVP Project**: No
## Statistics
- **Stars**: 0
- **Forks**: 0
- **Created**: 2025-07-24
- **Last Updated**: 2025-08-02
## Categories & Tags
**Categories**: Uncategorized
**Tags**: None
## README
# ☁️ 天气预报
本集成为HomeAssistant的中国用户提供天气实体(`weather`),支持15天及逐小时预报、各种生活指数,兼容[彩云卡片](https://github.com/fineemb/lovelace-colorfulclouds-weather-card),无需申请appkey。
> **Note**
>
> 如果你想使用彩云卡片,请在配置集成时勾选`兼容彩云卡片`。
>
> 由于没有云层覆盖率和24小时后的降水量数据,且彩云卡片需要这些数据,本集成提供的云层覆盖率及降水量(24至48小时)是根据天气状况给的固定数据,仅供参考。
## 安装/更新
> 以下几种方法任选其一!
#### 方法1: [HACS (**点击这里安装**)](https://my.home-assistant.io/redirect/hacs_repository/?owner=hasscc&repository=tianqi&category=integration)
#### 方法2: 通过 Samba / SFTP 手动安装
> [下载](https://github.com/hasscc/tianqi/archive/main.zip)解压并复制`custom_components/tianqi`文件夹到HA配置目录下的`custom_components`文件夹
#### 方法3: 通过`SSH`或`Terminal & SSH`加载项执行一键安装命令
```shell
wget -O - https://hacs.vip/get | DOMAIN=tianqi bash -
```
#### 方法4: `shell_command`服务
1. 复制代码到HA配置文件 `configuration.yaml`
```yaml
shell_command:
update_tianqi: |-
wget -O - https://hacs.vip/get | DOMAIN=tianqi bash -
```
2. 重启HA使配置生效
3. 在开发者工具中执行服务 [`service: shell_command.update_tianqi`](https://my.home-assistant.io/redirect/developer_call_service/?service=shell_command.update_tianqi)
4. 再次重启HA使插件生效
## 配置
> [⚙️ 配置](https://my.home-assistant.io/redirect/config) > 设备与服务 > [🧩 集成](https://my.home-assistant.io/redirect/integrations) > [➕ 添加集成](https://my.home-assistant.io/redirect/config_flow_start?domain=tianqi) > 🔍 搜索 [`天气预报`](https://my.home-assistant.io/redirect/config_flow_start?domain=tianqi)
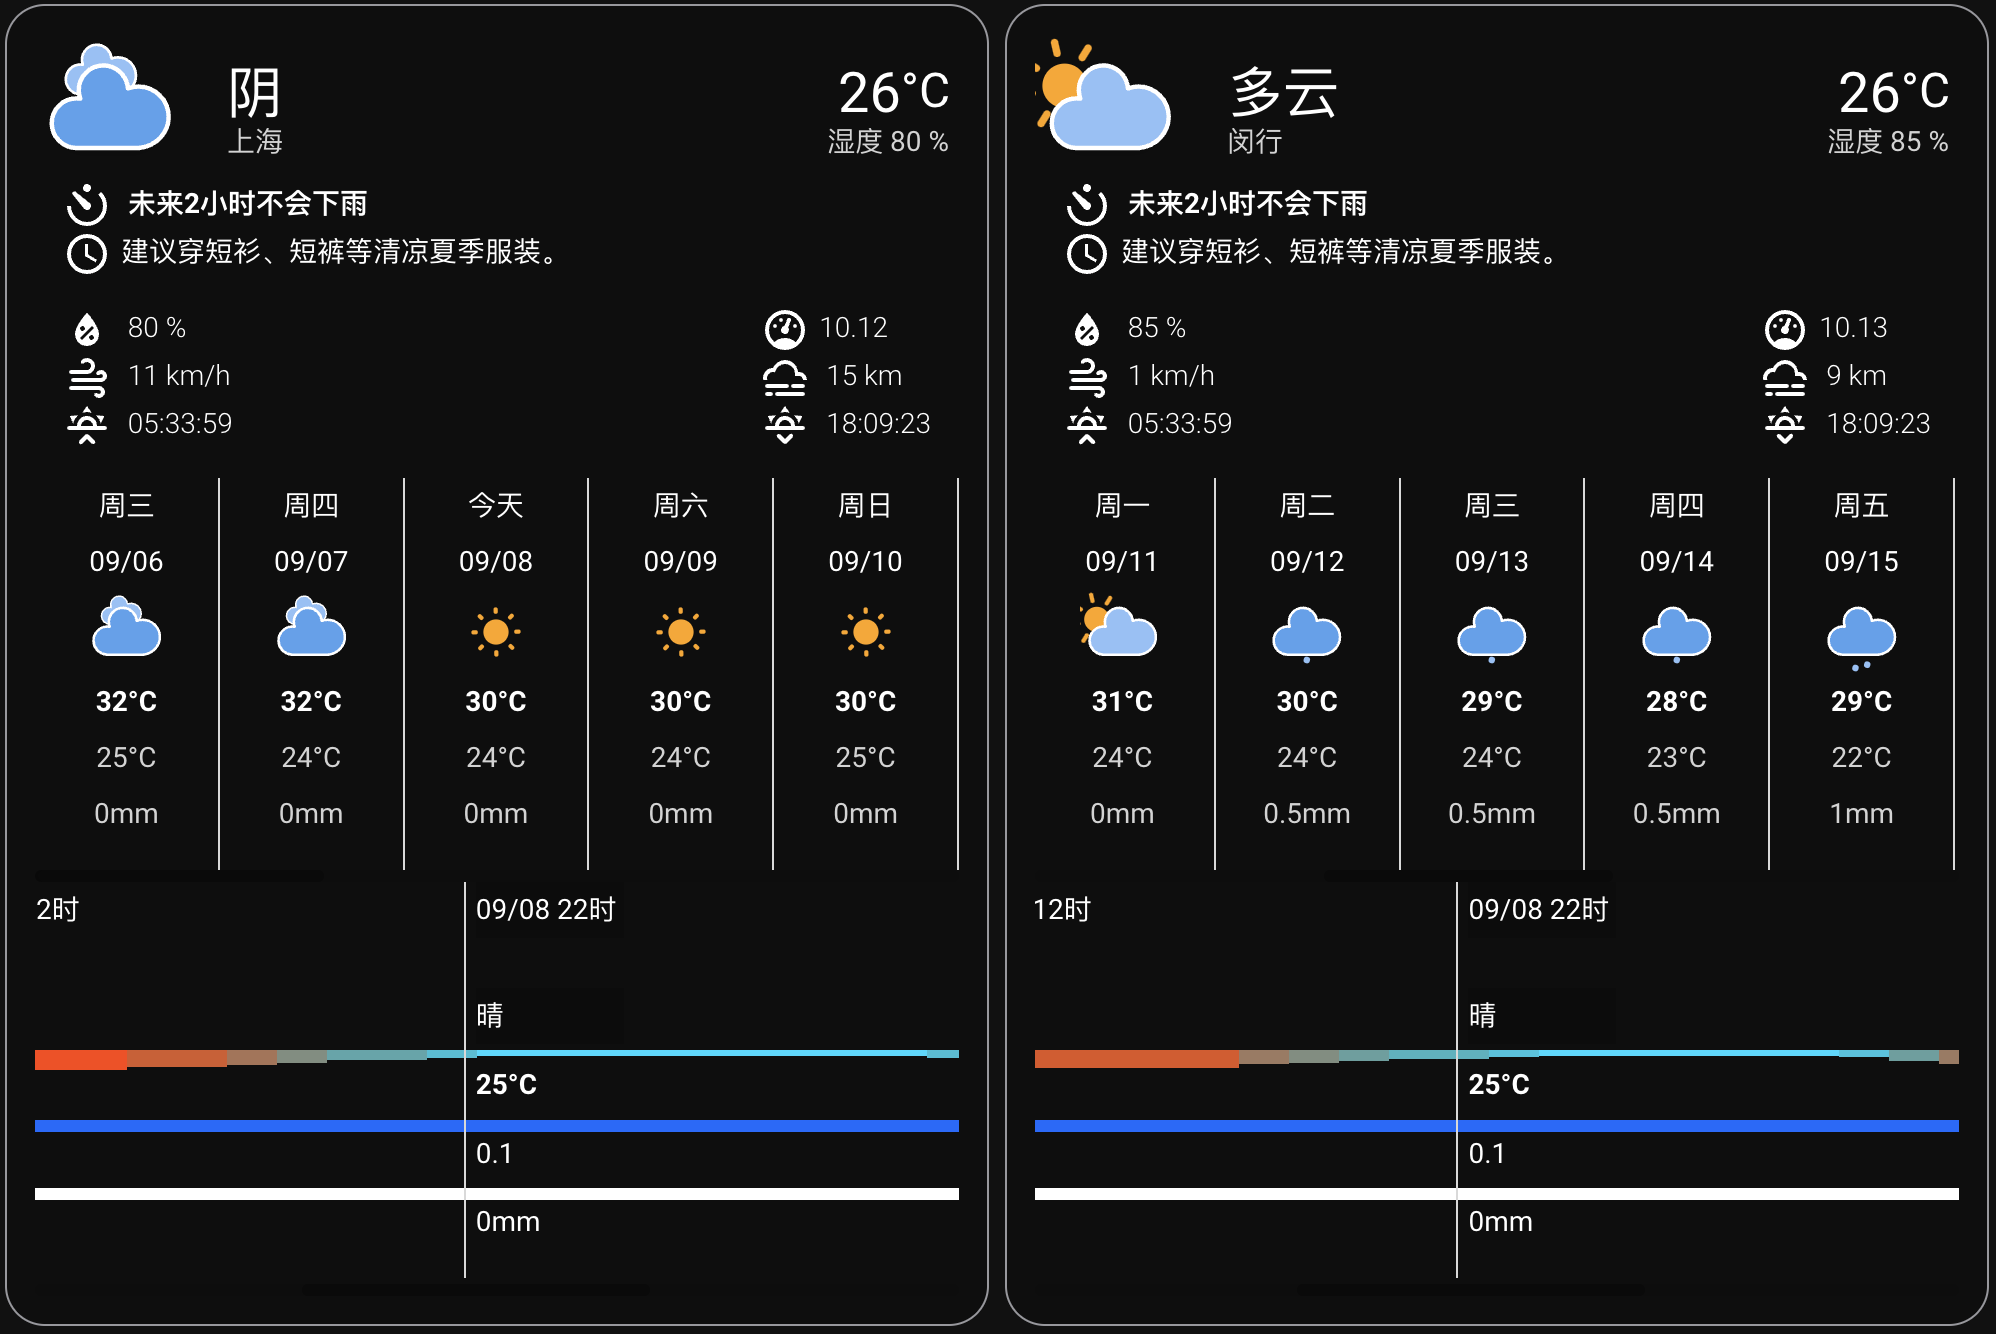
## 截图
 ## 相关链接
- 使用教程: https://mp.weixin.qq.com/s/_4aFbsb40qPgII-kYB3phA
- [安装彩云卡片(HACS)](https://my.home-assistant.io/redirect/hacs_repository/?owner=fineemb&repository=lovelace-colorfulclouds-weather-card&category=lovelace)
## 相关链接
- 使用教程: https://mp.weixin.qq.com/s/_4aFbsb40qPgII-kYB3phA
- [安装彩云卡片(HACS)](https://my.home-assistant.io/redirect/hacs_repository/?owner=fineemb&repository=lovelace-colorfulclouds-weather-card&category=lovelace)