# modulepackage
**Repository Path**: lyn4ever/modulepackage
## Basic Information
- **Project Name**: modulepackage
- **Description**: 使用idea创建多模块开发的Springboot项目
- **Primary Language**: Java
- **License**: AFL-3.0
- **Default Branch**: master
- **Homepage**: None
- **GVP Project**: No
## Statistics
- **Stars**: 1
- **Forks**: 0
- **Created**: 2019-12-24
- **Last Updated**: 2022-05-30
## Categories & Tags
**Categories**: Uncategorized
**Tags**: None
## README
# 在idea中创建多模块的SpringBoot项目
## 首先,了解下maven项目的三种打包方式:
### 1.war
打包为war包项目时,可以放在tomcat下运行
### 2.jar
打包成jar包就是要使用```java -jar xxx.jar```方式来运行,最常见的就是SpringBoot项目
### 3.pom
它只是用来做依赖管理,打包成的项目并不能直接运行。比如Springboot项目的父依赖以及再住上的依赖打包方式就是pom,因为它们只做依赖管理。
## 开始创建项目
> 总共创建三个module,分别为lyn4ever-web,lyn4ever-service,lyn4ever-dao。就这样做一个最简单的框架
### 1.第一步,创建父工程
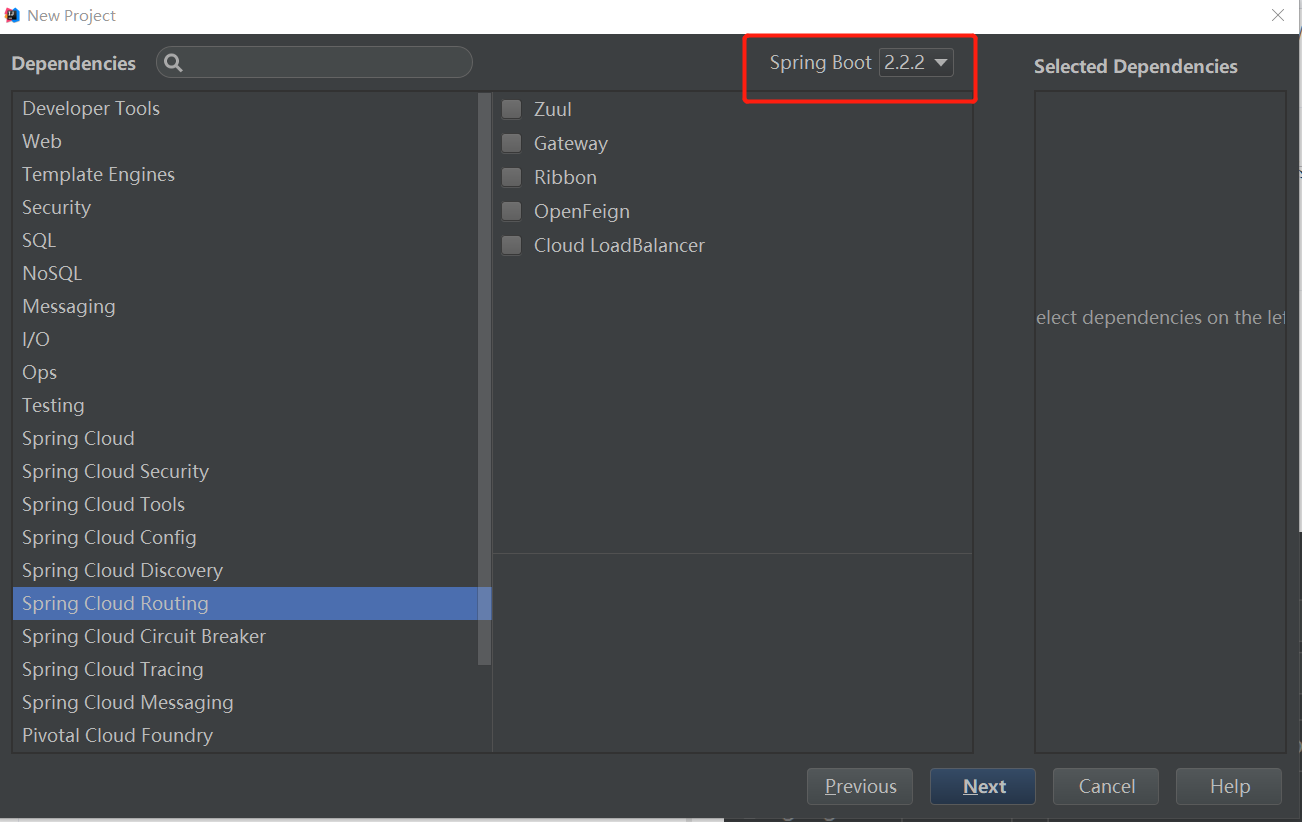
#### 1.1直接创建一个springboot项目(为了方便,当然普通的maven项目也可以,当你看懂原理后,随意玩),什么也不需要
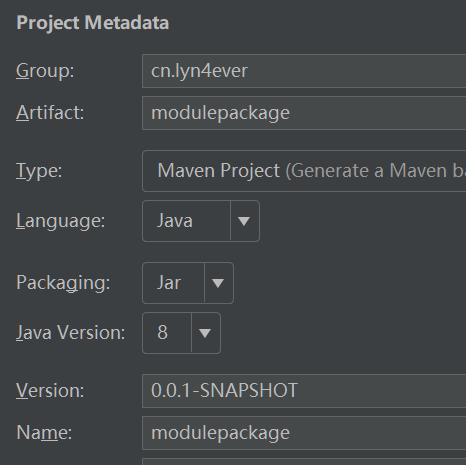
这一步只需要选择对应的版本就可以了,其他的可选可不选
#### 1.2删除这个项目下的src文件夹,因为我们并不会在这里写代码
#### 1.3在pom.xml中添加```pom```这一句
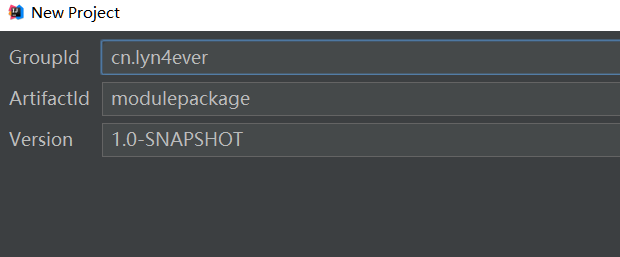
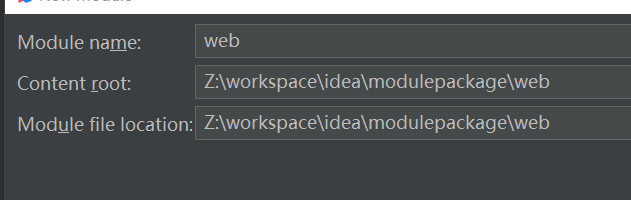
### 2.第二步,在刚才这个项目的根文件夹上鼠标右键,new->module->选择maven项目
* 一定要在刚才这个项目的根文件夹上创建,因为这样它会自动为我们写好依赖关系(pom依赖关系),不然还要自己写.这时注意选择它的父依赖,如果没有就点击右边按纽选择刚才创建的modulepackage
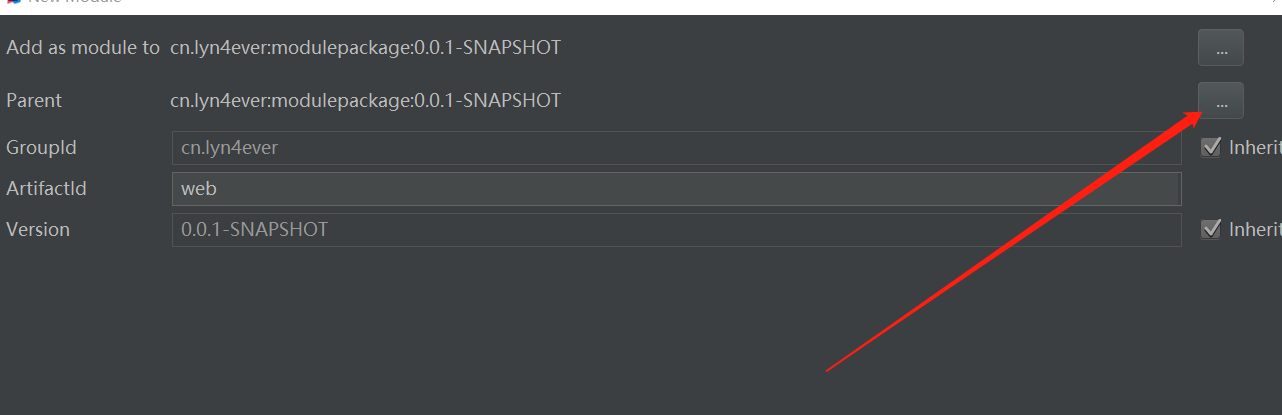
* 注意选择好在磁盘上的文件夹目录,默认情况下是正确的,直接跳过就好了.
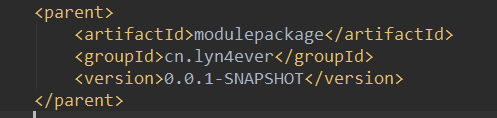
* idea自动为我们在父项目的pom文件中添加了如下一句
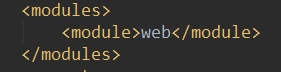
而且,也可以看到,这个web项目的父依赖就是刚才创建的modulepackage项目
### 3.第三步,这个web的项目就创建好了,我们就将这个子项目做为项目入口,即写一个springboot的启动类,只有这一个项目要写,其他的不用写.
```java
package cn.lyn4ever.web.boot;
import org.springframework.boot.SpringApplication;
import org.springframework.boot.autoconfigure.SpringBootApplication;
@SpringBootApplication
public class Application {
public static void main(String[] args) {
SpringApplication.run(Application.class, args);
}
}
```
* 作为web层,我们还要引入springboot-web的依赖
```xml
org.springframework.boot
spring-boot-starter-web
```
> 为什么这里创建maven项目,而不是springboot项目?
>
### 4.创建service子项目
和上一个一样,new->module->maven然后写好名字.接着在web项目中添加这个service的依赖,在web中的pom.xml中添加如下依赖:
```xml
cn.lyn4ever
service
0.0.1-SNAPSHOT
```
### 5.创建dao子项目
同样,也是创建子maven项目,但是这个dao层要连接数据库,我们就要引入mybatis和mysql相关依赖(由于我们最上一层用的是springboot依赖,所以完全可以引入mybatis依赖)。
* 这些相关依赖可以引入到modulepackage的pom文件中,也可以引入到子模块中。我个人建议引入到子模块中,因为它并不是所有的子模块通用的,但是还是要使用父工程来管理这些依赖,怎么办?那就使用dependencyManagement,如果不明白这个做法的原理的小伙伴,请戳[dependencies与dependencyManagement的区别](https://www.cnblogs.com/Lyn4ever/p/12094308.html)
* dao模块中的依赖
```xml
org.mybatis.spring.boot
mybatis-spring-boot
mysql
mysql-connector-java
```
* service层要依赖dao层,请在service的pom中添加依赖
```xml
cn.lyn4ever
dao
0.0.1-SNAPSHOT
```
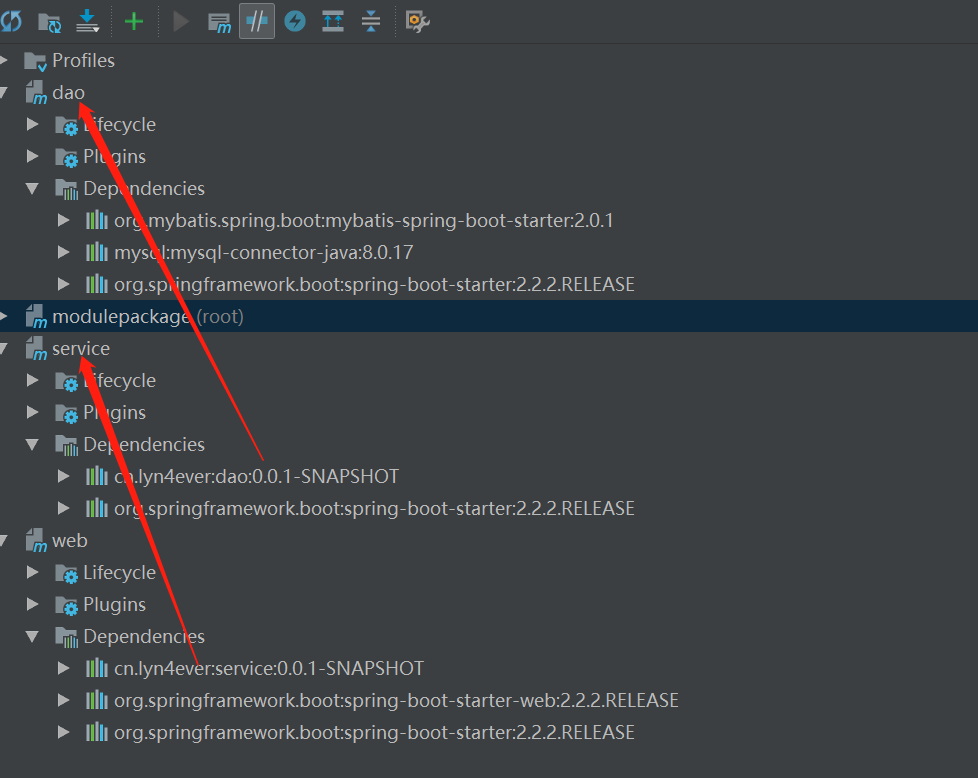
* 在idea右边的maven管理中可以完全看到它们之间的依赖关系
### 6.工程已经创建好了,我们就开始与代码进行测试吧。
* 和我们通常写代码是一样的,web,service,dao层,请自行补全。(代码已上传到gitee,随时查看[项目源代码地址](https://gitee.com/lyn4ever/modulepackage.git))
### 7.进行测试
#### 7.1写好代码后运行Application.main()时报错
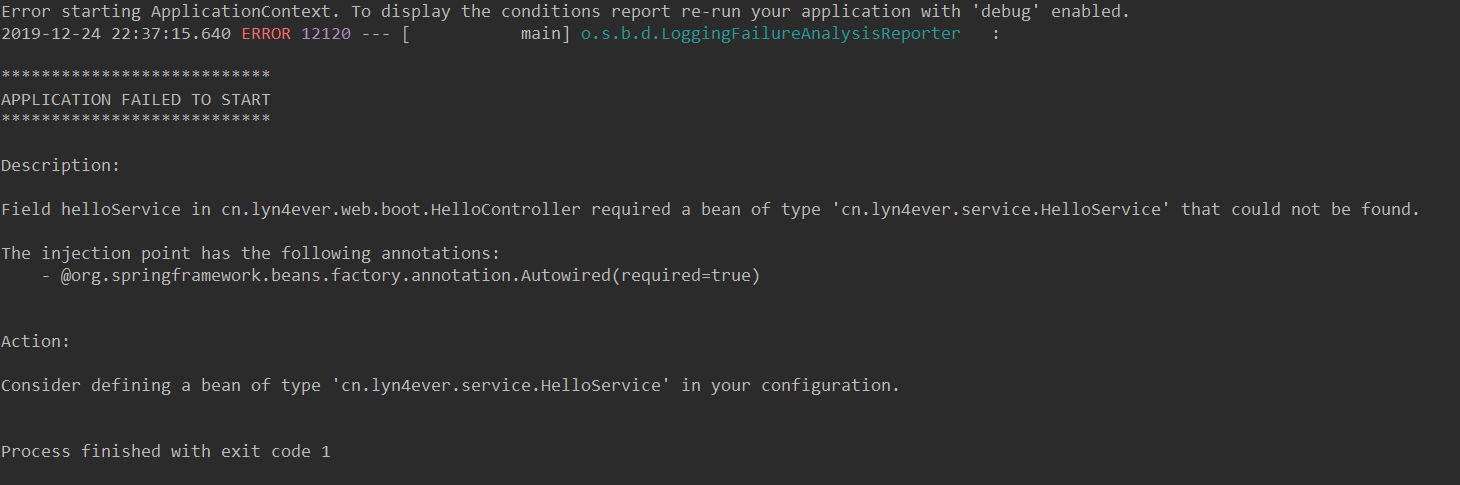
说明@Service没有扫描到, 所以没有这个bean,在Application.java上添加扫描注解@ComponentScan("cn.lyn4ever")
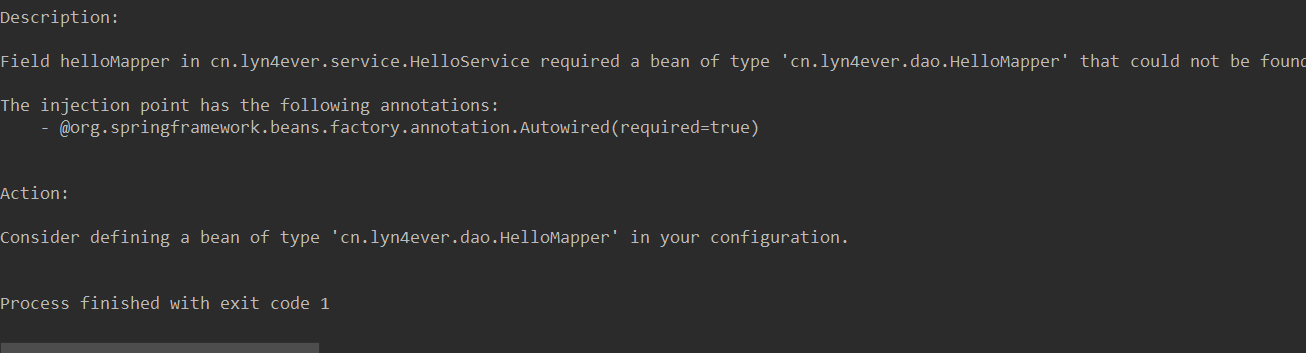
上边错就是说明扫描到mapper,加上注解@MapperScan("cn.lyn4ever.dao")
#### 几个说明:
* 如果创建Springboot项目时报错,说无法访问https://start.spring.io,请看这里[idea中使用Spring Initializr创建项目时报错](https://blog.csdn.net/sinat_32366329/article/details/82750982)
*最后启动这个项目(使用我们之前写的Application.mian)启动,使用浏览器访问成功.
### 8.最重要的部分,打包上线和多人协作的情况处理
#### 8.1 打包上线:
首先,你要明白。我们这么折腾了好一会儿,到底做了个什么?
* service和dao模块其实就是一个被依赖的项目,真正的项目是web这个模块。
* 所以,我们只需要打包web模块就可以了,但是web模块依赖service,service依赖dao。
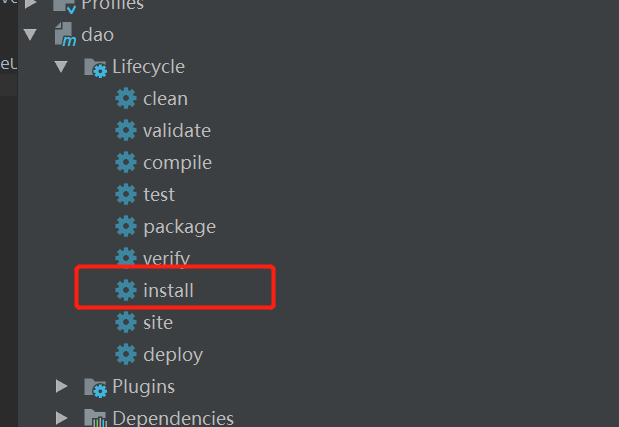
* maven中的所谓的依赖,就是要在仓库中寻找依赖。所以我们要先将service和dao这两个模块install到本地maven仓库中(只有这样,在打包web模块时,才能正确找到依赖,先dao,再service)。
如果报错如下
```
------------------------------------------------------------------------
[ERROR] Failed to execute goal org.springframework.boot:spring-boot-maven-plugin:2.2.2.RELEASE:repackage (repackage) on project dao: Execution repackage of goal org.springframework.boot:spring-boot-maven-plugin:2.2.2.RELEASE:repackage failed: Unable to find main class -> [Help 1]
[ERROR]
[ERROR] To see the full stack trace of the errors, re-run Maven with the -e switch.
[ERROR] Re-run Maven using the -X switch to enable full debug logging.
[ERROR]
[ERROR] For more information about the errors and possible solutions, please read the following articles:
[ERROR] [Help 1] http://cwiki.apache.org/confluence/display/MAVEN/PluginExecutionException
```
将父项目中的这段代码复制到web模块中,因为这上sprinboot项目打包的插件。
```xml
org.springframework.boot
spring-boot-maven-plugin
```
当然,为了避免出现不必要的错误,我更建议直接对modulepackage这个父项目进行install
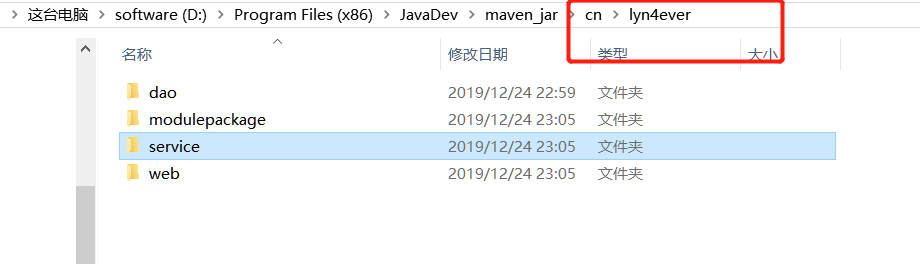
依次对dao和service执行了install后,可以在本地maven仓库中找到它们:
然后对web模块进行打包,打包完成后,会在它的target文件夹下生成jar文件,我们运行这上jar文件
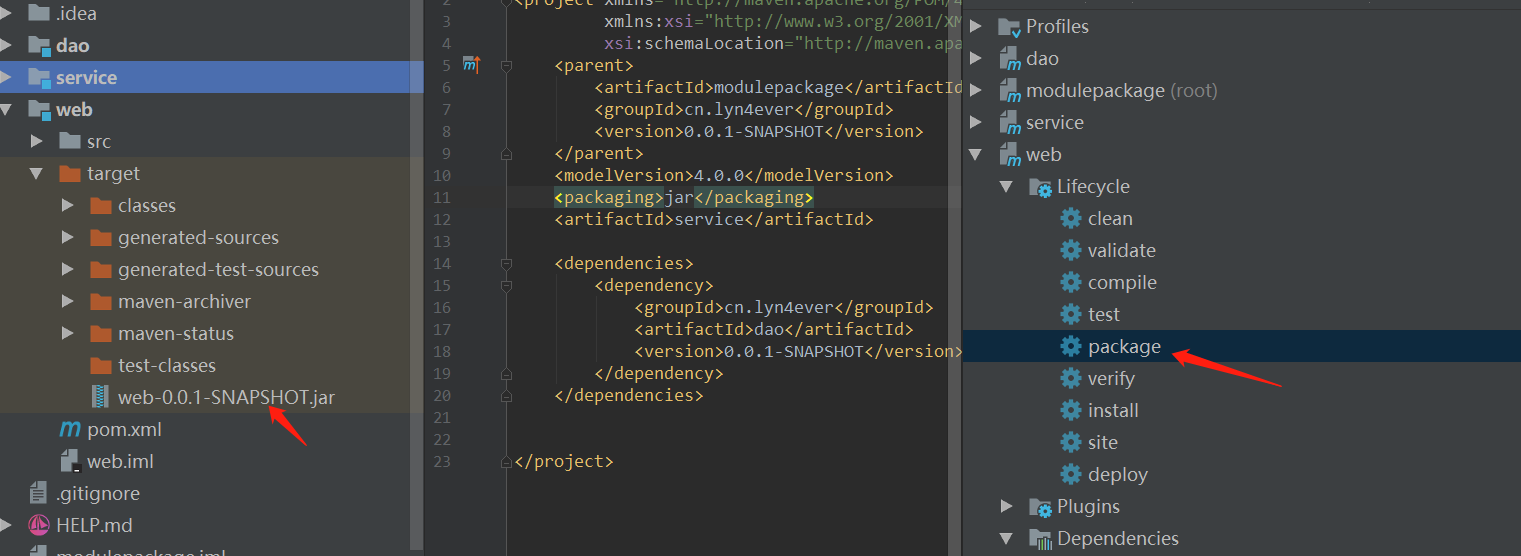
```shell
java -jar web-0.0.1-SNAPSHOT.jar
```
然后这个项目就可以上线了。
#### 8.2多人协作时
我们使用压缩包的方式打开上边这个打包好的jar包,可以在里边找到刚才的service和dao打包成的jar包
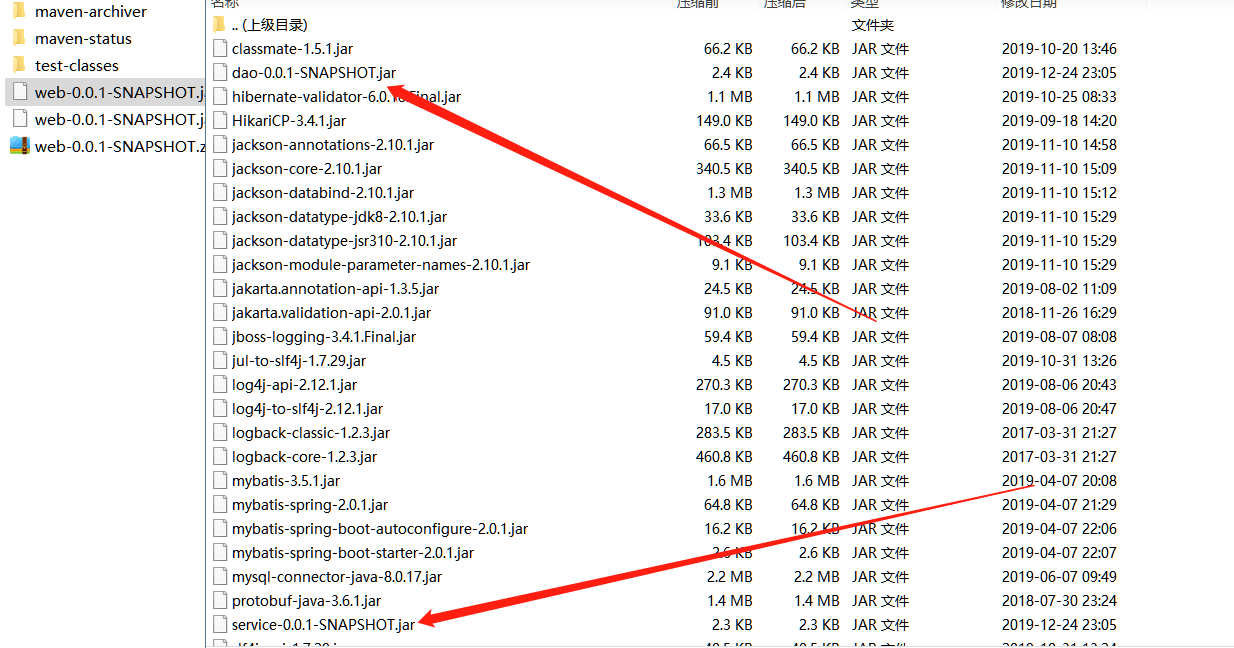
也就是说,在对we模块打包时,是将本地仓库中的maven仓库中的service和dao的jar包打包了进去,如果是多人协作的话,最好创建一个maven私服,这样就会更加方便
* 总结:
* 1.在实际工作中,肯定不止一个web,service,dao。请在命名时做到见名知义。
* 2.除了web层,其他的子模块最终会被打包成jar包,放在web包中,只需要运行这一个jar包就可以了
* 3.父工程的打包方式一定要是pom,即
```pom```
[项目源代码地址](https://gitee.com/lyn4ever/modulepackage.git)